Baldur's Gate 3: 10 Hardest Fights When Playing On Honour Mode
Highlights
- Honour Mode in Baldur's Gate 3 makes boss fights more challenging with Legendary Actions and limited save files.
- Bosses like the Owlbear mother and Auntie Ethel become even tougher in Honour Mode due to additional abilities and reinforcements.
- Players must adapt to new challenges, such as Grym's defensive abilities and Cazador's swarm of bats, to overcome the difficulty of Honour Mode.
Baldur’s Gate 3 brings D&D's tactical combat to the digital world. While its turn-based combat may already be hard enough for some players, others may want even more of a challenge. Honour Mode, introduced in Patch 5, is the perfect answer for those players. It makes sweeping changes to the game, such as limiting players to a single save file, and also makes boss fights more difficult through the use of Legendary Actions.

Baldur's Gate 3: Every Character That Can Join Your Camp
Players have the opportunity to recruit several characters to their camp in Baldur's Gate 3.Legendary Actions are powerful reactions unique to each boss. Some deal massive damage while others are designed to surprise players and prevent them from using well-known strategies that exploit their weaknesses. Players will have to stay on their toes and adapt to all sorts of new challenges that Honour Mode presents.
10 The Owlbear
Extra Help From Her Mate
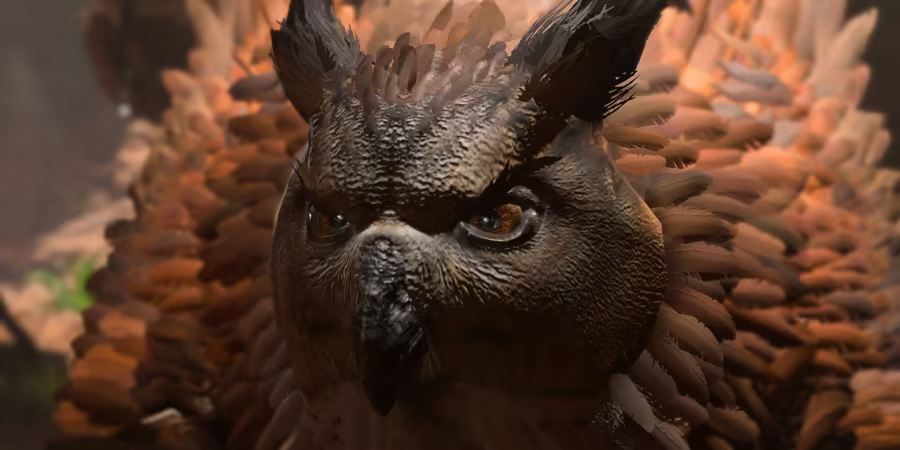
Fighting the owlbear mother and her recruitable cub is tough since it's early in the game and players don't have access to the full range of their abilities yet.
Baldur's Gate 3: Should You Kill the Owlbear
Players that are trying to decide if they should kill the Owlbear in Baldur's Gate 3 can find details on the consequences of this choice here.In Honour Mode, this fight is even tougher because the mother draws out the fight at a point when the party is already low on health and spell slots by summoning a second adult owlbear, her mate. Players have to deal with both, as the mate does not disappear if the mother dies, but she can summon him back to battle if he dies first.
Legendary Action
Call Consort - The mother summons another owlbear with 118 HP
9 Grym
Temporary HP, Extra Movement, And A Shockwave
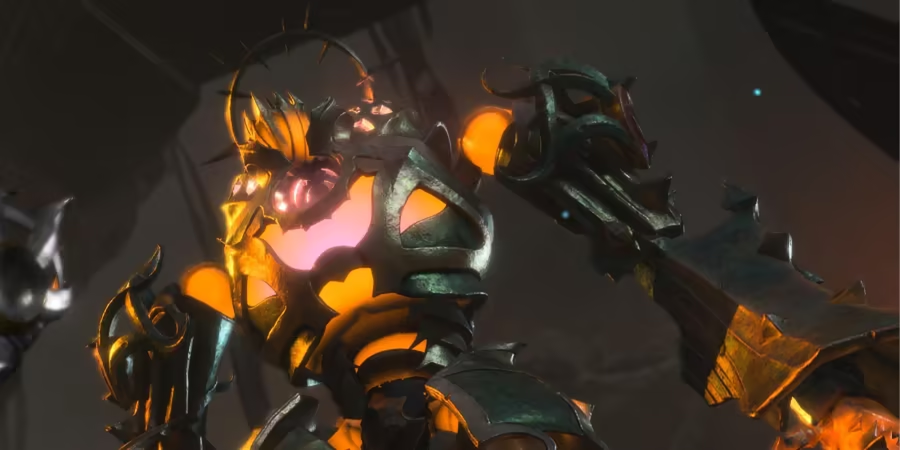
Grym is a very defensive boss. It is invulnerable unless superheated by lava, and can target characters for a lot of damage. While dealing massive damage to it with the GrymForge’s hammer is still a viable strategy, extra lava mephits in Honour Mode can become a problem in and of themselves. Grym also has a defensive Legendary Action that grants it temporary health points and makes it move faster, weakening the strategy of kiting it around in the lava to prevent its damage.
Legendary Action
Adamantine Reverberation - Grym gains 10 temporary HP. As long as these HP remain, Grym has double its movement speed. When they are removed, it releases a shock wave that pushes enemies away and deals force damage.
8 Auntie Ethel
Every Time A Spell Is Cast, She Copies Herself Again
The fight against Auntie Ethel is a memorable one. Mayrina sits in a burning cage over a bottomless chasm while Ethel spawns illusory copies of herself. Players have to figure out which hag is the real Ethel and whittle her HP down before she starts the loop over again. Honour Mode makes this more difficult by allowing her to create more illusions. Whenever the player casts a spell, Ethel spawns another copy and shuffles herself around to a new location. What's worse is that she makes more copies based on how high the spell level was.

Baldur's Gate 3: Auntie Ethel's Potion Effects
Players are free to drink many potions in Baldur's Gate 3, even poisonous ones; Auntie Ethel has a mix of good and bad ones to sample.Legendary Action
Weird Magic Surge - Auntie Ethel creates more illusory copies of herself immediately after a spell is cast. The higher the spell level, the more copies she gets to make.
7 Inquisitor W'wargaz
Two Unique Summoned Weapons Aid Him
Inquisitor W'wargaz is the boss of the Githyanki Crèche, a site that can only be visited in Act 2. He fights alongside four other githyanki, all of whom can parry attacks and dole out damage. He has an extra attack each turn and can use Misty Step to close the distance to any potential target. He can also cast Mindsteal Link to increase his Armor Class. In Honour Mode, he gets more opportunities to use Mindsteal Link while also increasing his damage output by summoning unique psionic weapons.
Legendary Action
Mind-Claw of Tu'narath - Inquisitor W'wargaz can summon up to two psionic blades. When these blades deal damage, W'wargaz can cast Mindsteal Link as a reaction.
6 Balthazar
Extra Defenses For Himself And Revenge For Killing His Minions
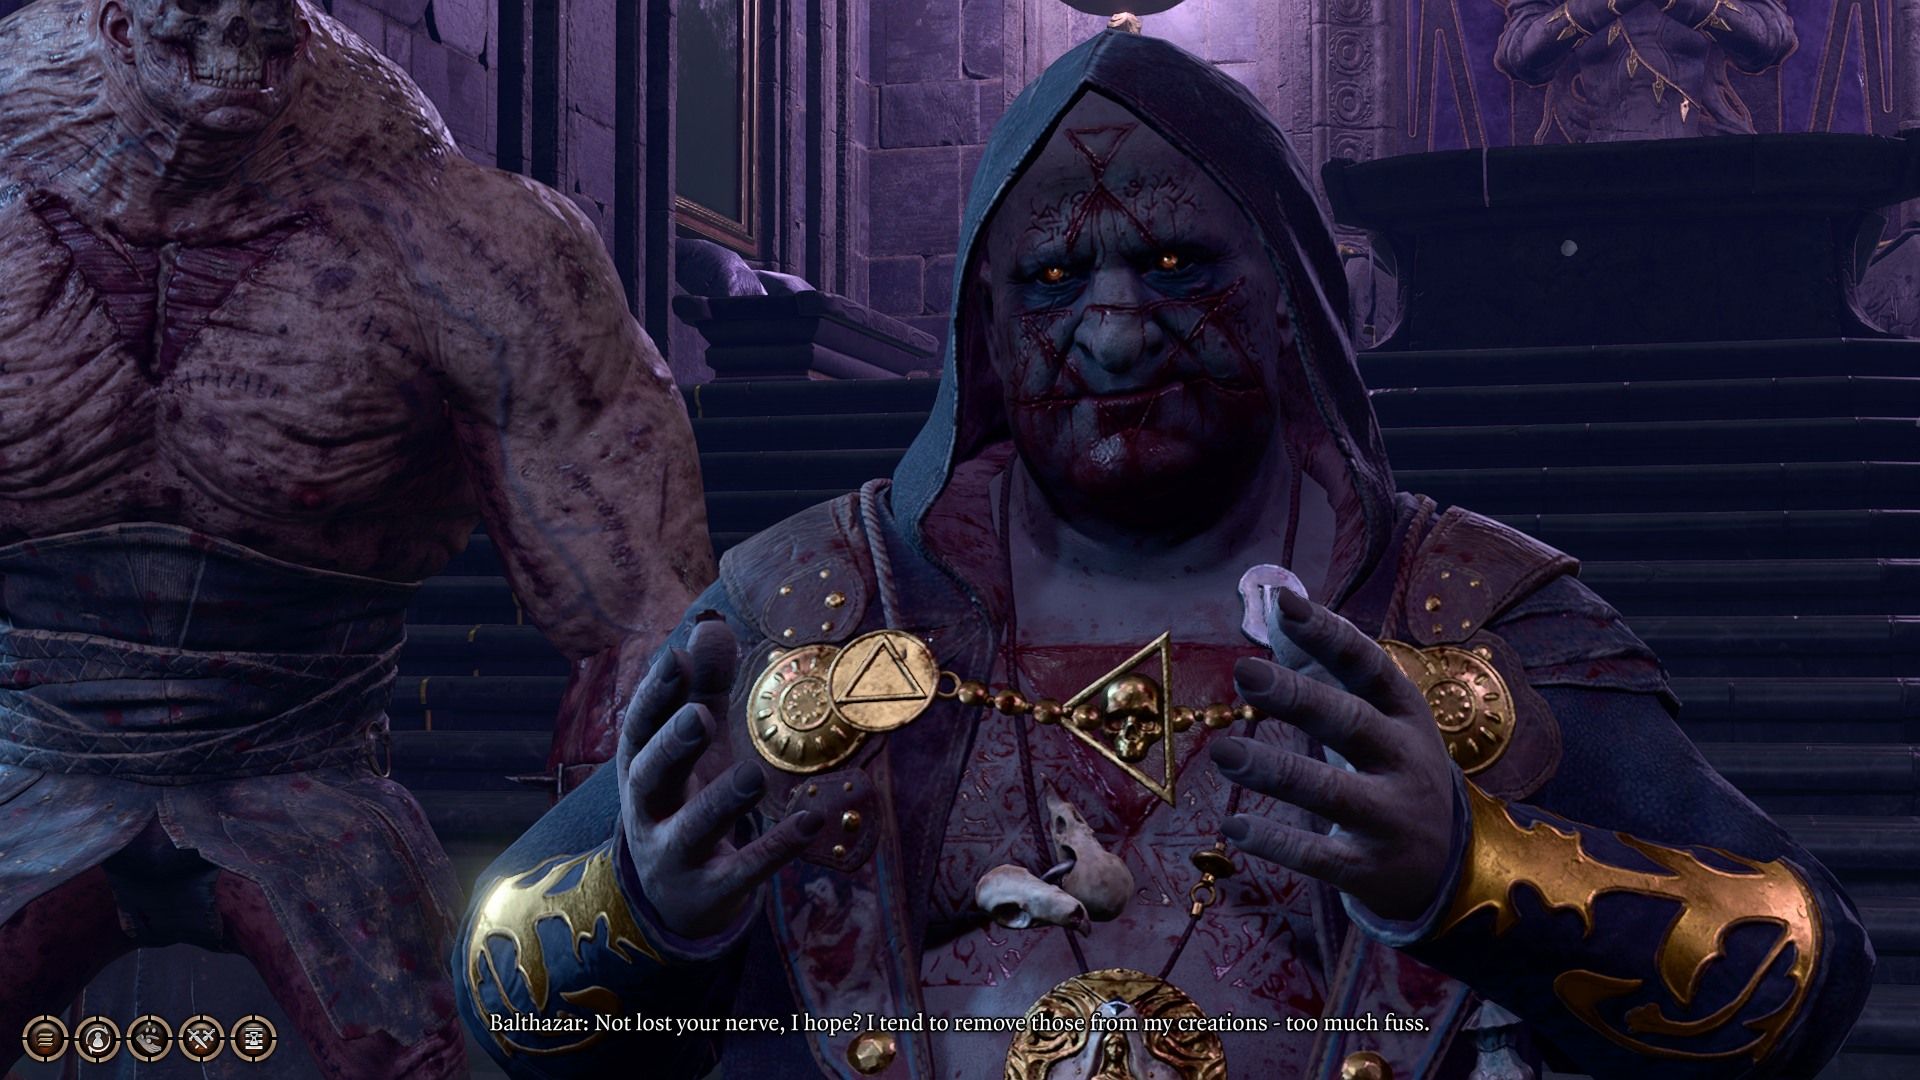
Defeating Balthazar is no easy task. The area is small and crowded with undead, and Balthazar can easily overwhelm players with spells like Cloudkill if they don't disable it. He is one of the few bosses in the game with two Legendary Actions. One affects him directly and makes hurting him more difficult and even painful for the characters. The other has the necromancer use the death of his minions to his advantage.
Legendary Actions:
Spectral Aspect - When hit the first time each round, Balthazar gains resistance or immunity to each type of elemental damage and can fly. Until the end of the round, anyone who strikes him is Bone Chilled.
The Dead Wastes - When the first creature dies each round, Balthazar creates a miasma that heals nearby undead and damages party members.
5 Cazador
Bats Swarm A Target While Healing Their Master
Cazador is one of the most powerful beings along the Sword Coast, and he has planned his ascension for centuries. Taking him down is no easy task, especially if Astarion is in the active party. Cazador locks him away before the fight and players are left to fight Cazador and his host of ghasts, werewolves, and bats with only three characters. If that weren’t enough, players need to rescue the would-be sacrifices (including Astarion) within three turns or all of Cazador’s plans come to fruition.
Legendary Action:
Vampiric Swarm - Cazador summons a swarm of bats that deal massive damage and can cause the target to become Swarmed. While a character is swarmed, they take damage each turn and Cazador regains health.
4 Viconia
One-Hit Kill Attack And Sanctuary For Her Allies
Delving into the House of Grief is the culmination of a quest that spans the very beginning of the game deep into Act 3. Players expect a climactic and tense battle and Viconia certainly delivers, particularly if Shadowheart turns her back on Shar at the end of Act 2. Viconia is a tough opponent considering she reflects radiant damage back at the party and has two Legendary Actions. Her followers will cast Bone Chill and Darkness, which can wreak havoc on ranged characters and doom those at low health.
Legendary Actions:
Sanctuary of Loss - Viconia creates a cloud of darkness and grants protection to herself or an ally
Heartwrench - Deals up to 120 damage to a target with the Heartform Mapped condition
3 Sarevok
He Strikes Back At Attackers With Devastation
Sarevok, Baldur's Gate 1's main enemy, is an intimidating foe. After a stint as an ally in Baldur's Gate 2, he is back to antagonizing players, especially those unwilling to align themselves with Bhaal. He can attack at least twice per turn, and his allies will often cast Sanctuary to protect him. The combination of dealing lots of damage and being shielded from all harm makes him very difficult to kill. His Legendary Action activates a devastating move called Deathbringer's Assault where he strikes four times in a row, dealing up to two hundred damage to a single target.
Legendary Action:
Murderous Retort - Once per round, Sarevok immediately strikes back at an attacker. He uses Deathbringer's Assault instead of a standard attack if he has attacked four times.
2 Orin
More Powerful Than Her Grandfather, And With Extra Aid From The Temple
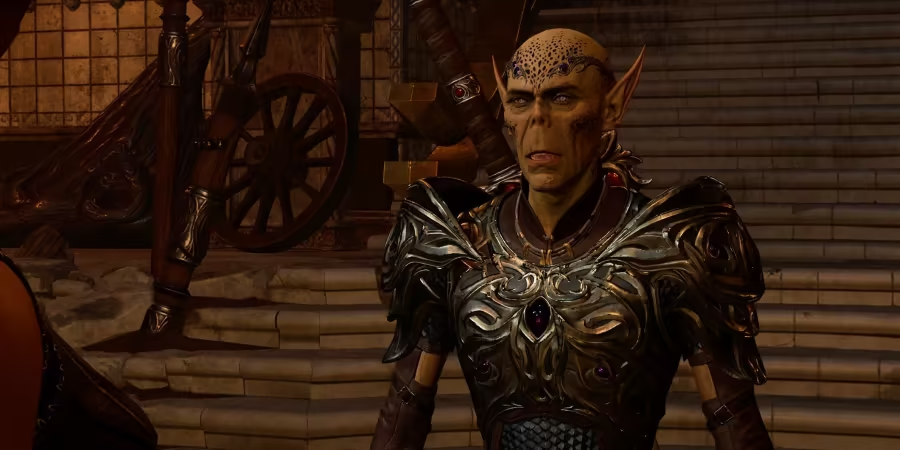
Many players are excited to face Orin after she spends time teasing them by shapeshifting into different NPCs and then kidnapping a companion. The climactic fight against this murderous Chosen of the Absolute is one of the hardest encounters in the game, and not just because of Orin's vicious Slayer form. In Honour Mode, the very temple itself is granted a Legendary Action that kills the target outright unless they kill another creature during their next turn.
Legendary Action
Murderous Retort - Like Sarevok, Orin can use this after attacking four times. Her form is more powerful, however; she strikes seven times for up to thirty damage each.
Bhaal's Edict - The Temple itself targets a party member. The target dies unless it kills another creature before the end of its next turn.
1 Raphael
Multi-use Legendary Actions In Each Form
Atmospheric music and the lavish interior of the House of Hope make the fight against Raphael truly iconic. It is also a highly thematic 666 HP — more than any other opponent in the game. In Honour Mode, this fight is even more unique. Not only does Raphael have two Legendary Actions, but also he can use them more often than any other boss (at least early on in the fight). In his base form, Raphael can charm attackers, preventing them from dealing damage to him. In his ascended form, he strengthens his allies while potentially dealing great damage to multiple party members. Players are in for the long haul when they face him in Honour Mode.
Legendary Actions
Beguiling Rebuke - While in Cambion form, he charms an attacker and their nearby allies. If successful, they cannot attack him for two turns. Soul Ascension - While in Ascended Fiend form, he creates an area that deals necrotic damage to the player's party and transforms Raphael's cambions into Hellfire Cambions. For each Soul Pillar remaining at the start of a round, Raphael can cast a Legendary Action once. There are four at the start of a battle.

Baldur's Gate 3
- Platform(s)
- PC , Stadia , macOS , PS5 , Xbox Series X
- Released
- August 3, 2023
- Developer(s)
- Larian Studios

