
Eye of the Storm Bug Fixes and Walkthrough
Eye of the Storm is a Crimson Fleet faction quest in Starfield. Learn the bug fixes, best choice, how to install the comspike module, as well as a full walkthrough and choice guide of the quest.
List of Contents
Eye of the Storm Bug Solutions
|
|
Cannot Talk to Delgado
This bug occurs at the start of the quest where players cannot trigger a conversation with Delgado, preventing the quest from activating.
Leave The Eye and Come Back
Players have reported that leaving The Eye and coming back to speak to Delgado fixes the bug.
The walkthrough team has not encountered this bug and cannot confirm it at this time. If this fix has worked for you or if you have an alternative fix, you're welcome to share it in the comment section and we will make sure to confirm the fix!
Cannot Proceed After Turning On the Power Switches
This bug has been reported to cause the quest to stop working after you pull the two power switches.
Save Before Pulling the Switches and Reload If Bug Occurs
Some players have reported from our bugs page that reloading from a previous save point where you have not pulled the switches fixes this bug.
The walkthrough team has not encountered this bug and cannot confirm it at this time. If this fix has worked for you or if you have an alternative fix, you're welcome to share it in the comment section and we will make sure to confirm the fix!
Stuck On the Wait for Transfer Process to Complete Objective
This bug is related to the power switches bug which occurs after turning them on as part of the quest.
Save Before Pulling the Switches and Reload If Bug Occurs
Players have reported that the fix would be to make a save before pulling the switches, close the game, and reload the save.
For PC players, instead of closing the game normally from the System menu, players have reported that closing the game from Task Manager fixes this bug.
The walkthrough team has not encountered this bug and cannot confirm it at this time. If this fix has worked for you or if you have an alternative fix, you're welcome to share it in the comment section and we will make sure to confirm the fix!
Stuck on Listen to Kryx's Recording Objective
Another bug players have reported where listening to Kryx's recording does not let them proceed to the next quest objective.
Listen to the GBLR011: The Waiting Game Tape In Its Entirety
We have confirmed that listening to the first tape, GBLR011: The Waiting Game, from start to finish completes this objective and triggers the next one correctly. Go to your Inventory and find the tape and listen to it from start to finish.
Do not select the second tape, GBLR013: Mortem Obire (Evidence), while the first one is still playing as this will not let you proceed with the next objective.
Eye of the Storm Rewards and Unlock Condition
How to Unlock and Rewards
| Planet Started | Suvorov, Kryx |
|---|---|
| Location | The Key |
| Faction | Crimson Fleet |
| Prerequisites | Complete Absolute Power |
| Quest Giver | Naeva |
| Rewards | ・ EXP: 350 ・ Credits: 8400 ・ Revenant (x1) |
Eye of the Storm Walkthrough and Objectives
Main Objectives
- Speak with Delgado
- Install both the ComSpike Module and the Conduction Grid Module
- Proceed to the UC Vigilance
- Proceed to Bannoc IV
- Locate a Transfer Module
- Locate the Vault Control Center
- Retrieve Jasper Kryx's Possessions
- Listen to Kryx's Recording
- Remove Transfer Modules and Data Core
- Escape the Legacy
- Bring Kryx's Legacy to the UC Vigilance
- Or Bring Kryx's Legacy to The Key
1. Speak with Delgado
| Bug Warning: Players may encounter a bug that does not let them talk to Delgado and start the mission |
After completing Absolute Power, speak with Delgado in The Key and hand over the Construction Grid data. You will learn your next assignment during the conversation, which is to get Kryx's Legacy.
Absolute Power Rewards and How to Unlock
2. Install both the ComSpike Module and the Conduction Grid Module
You will need to modify your ship to survive the harsh environment in Bonnoc IV. Speak with Jazz, and select the Mind helping me with my ship? dialogue option to open the Ship Editor screen.
You can also look for a better ship or upgrade the parts at this point, as the last part will include a battleship fight against which faction you didn't choose!
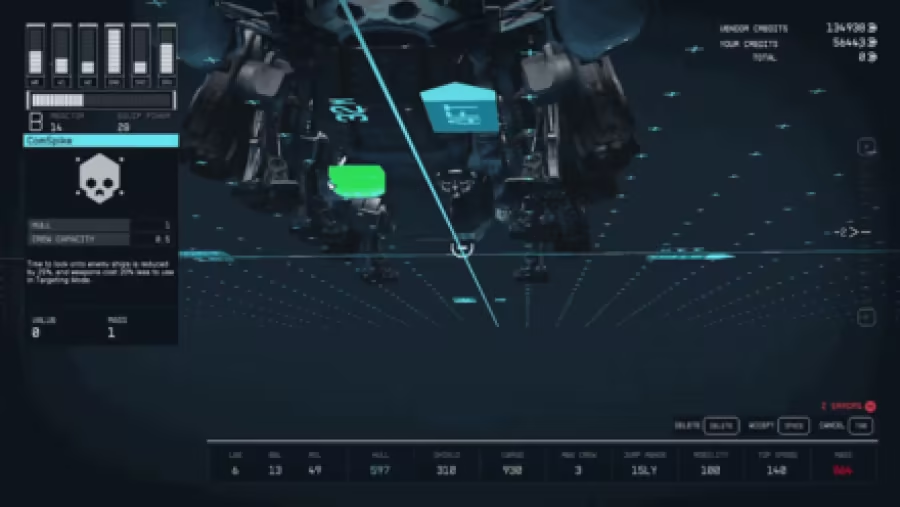
How to Install the ComSpike Module and the Conduction Grid Module
Go to the Equipment tab on the editor screen to see the Conduction Grid and ComSpike and attach them on the ship.
When installing the Ship Modules, you may encounter errors if you place them incorrectly. To fix this, drag the component to the indicated circles. The component will turn Green to indicate that it has been placed correctly.
You can also drag your ship to move it and see which parts will be left behind, meaning these parts are the ones disconnected, and causing errors.
Ship Building and Customization Guide
3. Proceed to the UC Vigilance
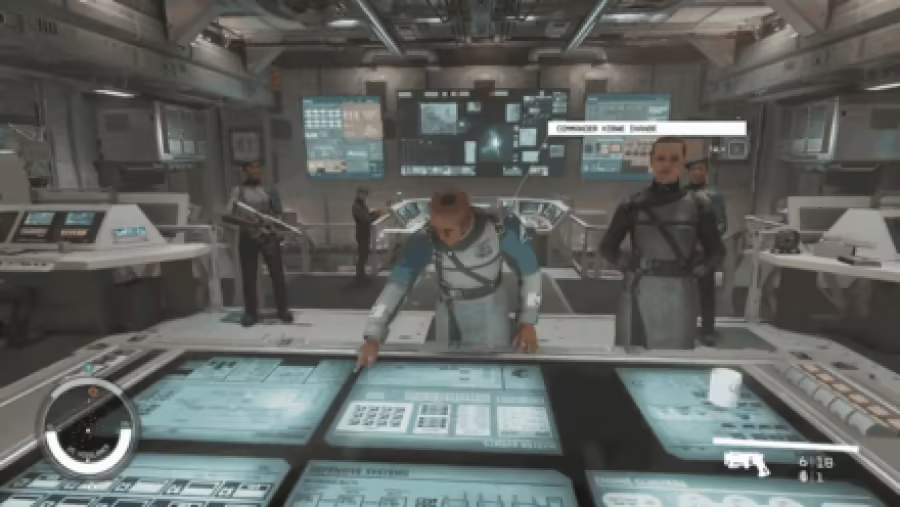
Head to the UC Vigilance and speak with Commander Kibwe Ikande. He will discuss the same mission as the one Delgado mentioned, which is about retrieving Kryx's Legacy and giving it to them.
You can decide later on which side to choose and to betray.
4. Proceed to Bannoc IV
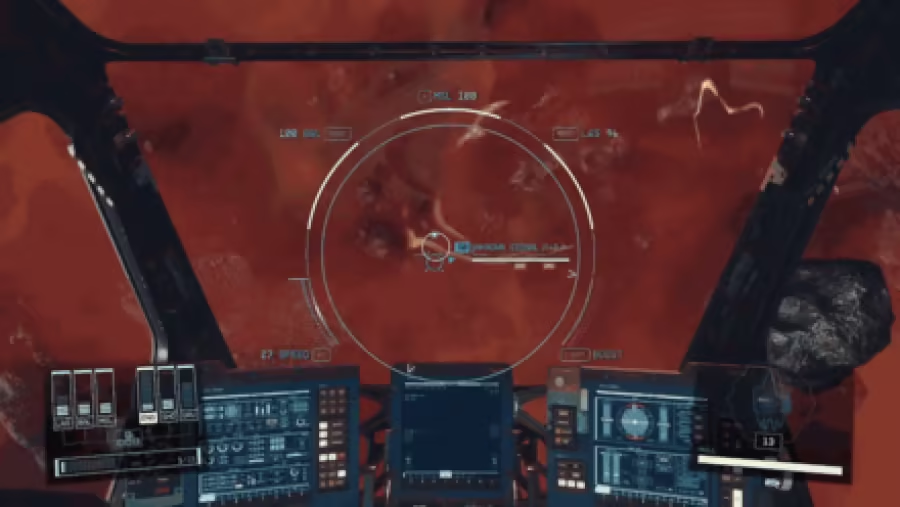
Board your ship and set a course for Bannoc IV. Navigate the EM Field by following the quest marker until you find The Legacy. Try to get close to it to get the option to dock and board the ship.
How to Prevent the Ship From Getting Destroyed
Some players may find this part impassable as the EM Field keeps destroying their ship. You can prevent that from happening by powering up your ship's shield before Grav Jumping to Bannoc IV.
5. Locate a Transfer Module
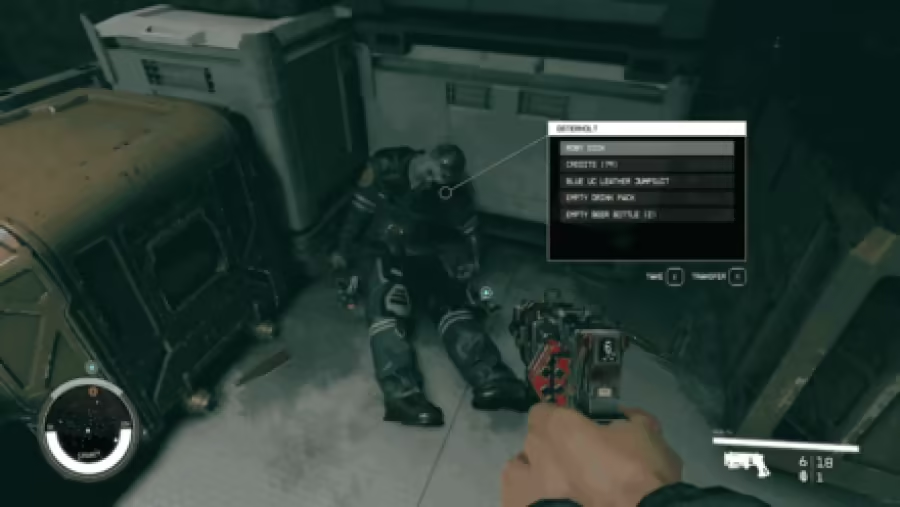
Pick up the Galbank Transfer Module from the nearby corpse, and place it on the Transfer Module Lock to unlock the Vault.
(Optional) Access the Credtank
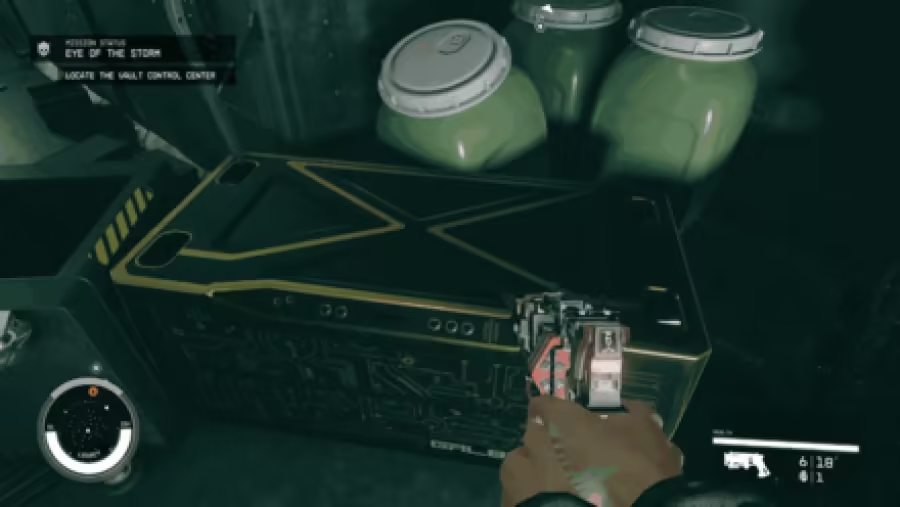
You can open the nearby Credtank for more credits. In our playthrough, we obtained an additional 4675 Credits, Which is a nice addition to the 8400 Credit reward at the end of the quest!
Since the Legacy has long been abandoned, it does not count as stealing, and will not affect companion affinity, or give you a bounty.
Money Making Guide: How to Farm Credits
6. Locate the Vault Control Center
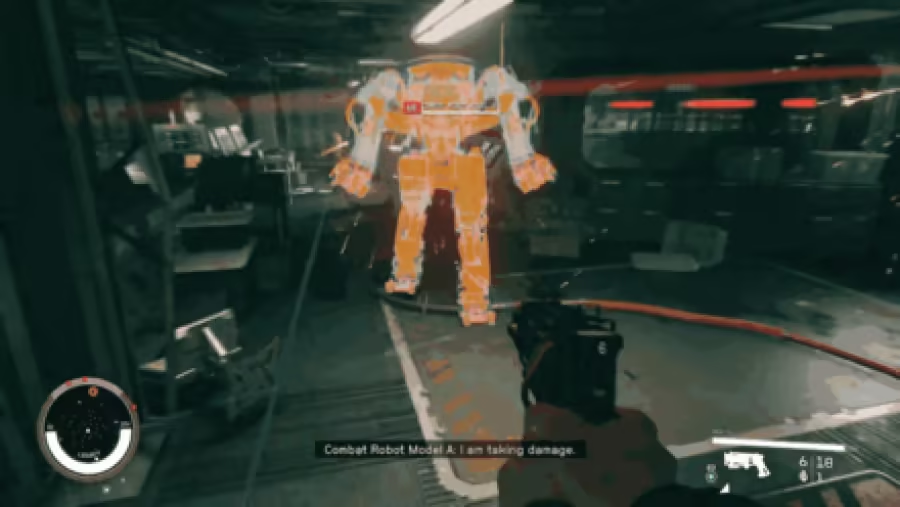
Navigate the Vault, and try not to trigger the alarms by avoiding the camera as much as possible. The Robots will appear once the alarm goes off and try to take you down.
Prepare and equip Laser Weapons to easily defeat these enemies.
All Laser Weapons
7. Retrieve Jasper Kryx's Possessions

Once inside the Control Center, pick up the Credstiks under Jasper Kryx's, the Audio Log, and the Revenant, which is a Legendary Ballistic Rifle.
8. Listen to Kryx's Recording
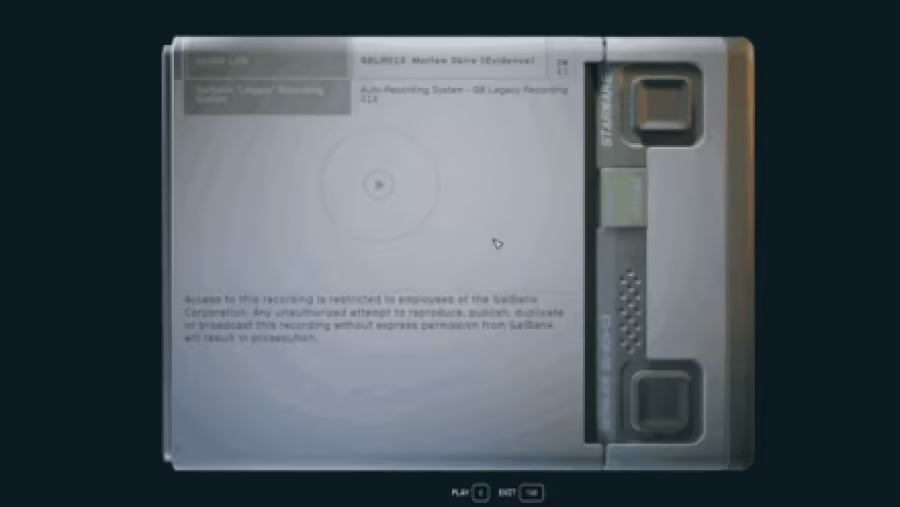
| Bug Warning: Players may encounter a bug that stops quest progression if you interrupt the The Waiting Game recording. |
After picking up Kryx's Possessions, get GBLR011: The Waiting Game, which is Kryx's final recording. Listen to the recording until the end before proceeding to the next objective to prevent the bug from happening.
9. Remove Transfer Modules and Data Core
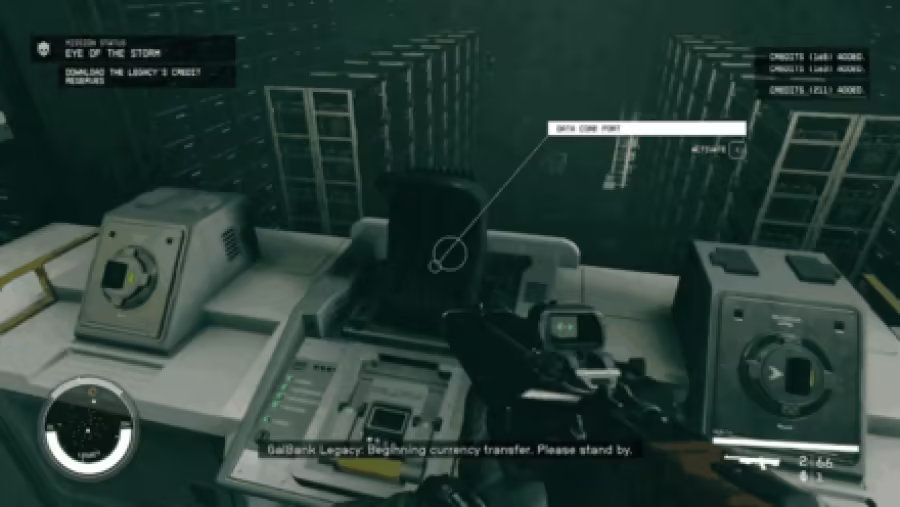
| Bug Warning: Players may encounter a bug when you turn on the two Power Switches or while waiting for the Transfer to complete. |
Remove the Transfer Modules and the Data Core on the console in front of you. Doing so will trigger an imminent system failure, with the EM Storm entering the vault.
10. Escape the Legacy

After obtaining the Data Core, quickly make your way back to your ship. Being exposed to the EM Storm will continously drain your HP, so get out as fast as you can!
Robot Enemies will try to get in your way, but it's best to avoid them to get back on your ship quickly.
11-12. Bring Kryx's Legacy to the UC Vigilance or The Key
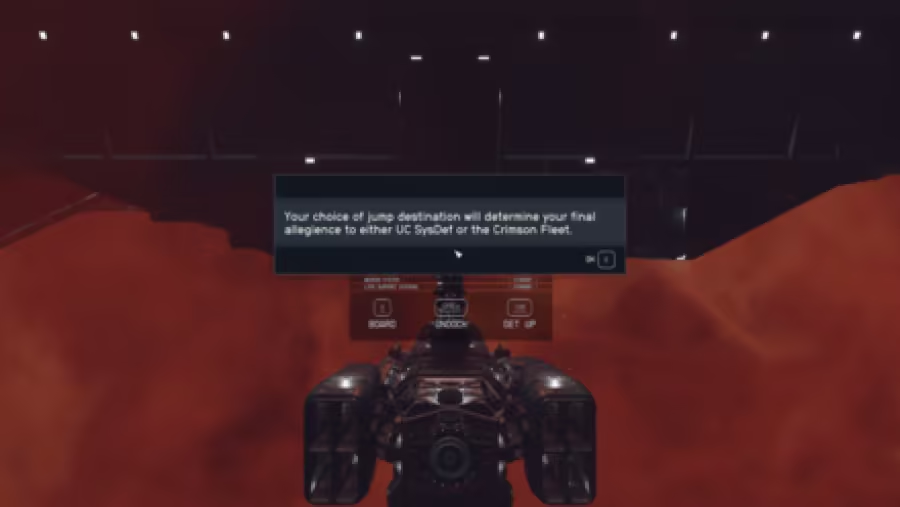
You now have the option to either choose UC SysDef and bring Kryx's Legacy to the Vigilance, or choose Crimson Fleet and bring the item to The Key.
Both choices will lead to different quest objectives, and different endings. The quest reward will remain the same, however, no matter which faction you side with.
(Optional) Ask Companion for Advice about Your Decision
If you have a companion with you, you can discuss with them about your decision on which side to choose. It might affect the relationship you have with them, depending on your choice.
List of All Companions and Followers
Eye of the Storm Best Choice
Betray Delgado and Side with UC SysDef

The rewards between for either choice are virtually identical, but siding with Crimson Fleet risks bugging your game, depending on your progress through the main story and other side quests. We recommend betraying Delgado and siding with the UC SysDef so you can avoid bugs and quest blocks when siding with the Crimson Fleet.
The Crimson Fleet pops up as antagonists in several main quests, side quests, and repeatable mission board quests. Allying with them can prevent progress since the Crimson Fleet won't attack you.
Siding with UC SysDef prevents you from encountering these bugs and will allow you to finish these quests without incurring a bounty with the Crimson Fleet that you'll need to pay.
Starfield Related Guides

All Joinable Factions
| List of All Major Factions | |
|---|---|
| UC Vanguard | Freestar Collective |
| Ryujin Industries | Crimson Fleet |
| Constellation | Ebbside Strikers |
All Religions
| List of All Religions | ||
|---|---|---|
| The Enlightened | House Va'ruun | Sanctum Universum |
Crimson Fleet Questline
| Quest | Rewards | |
|---|---|---|
| 1 | Deep Cover | ・EXP: 250 |
| 2 | Rook Meets King | ・EXP: 250 ・Pirate Swashbuckler Gear |
| 3 | Echoes of the Past | ・EXP: 350 ・Keelhauler ・UC Prison Shuttle |
| 4 | Breaking the Bank | ・EXP: 350 |
| 5 | The Best There Is | ・EXP: 250 ・UC Citizen ID ・The Well Apartment |
| 6 | Absolute Power | ・EXP: 350 |
| 7 | Eye of the Storm | ・EXP: 350 ・Revenant |
| 8 | Legacy’s End | ・EXP: 350 |
Crimson Fleet Optional Quests
| Quest | Rewards | |
|---|---|---|
| 1 | Burden of Proof | ・EXP: 50 |
| 2 | Doctor's Orders | ・EXP: 100 |
| 3 | Reclaiming the Past | ・EXP: 75 |
Join XGamer Discord to discuss the game with other players
Click to join our Discord