
Arlecchino Rating and Best Builds
Arlecchino is a 5-star Pyro Polearm user in Genshin Impact 4.6 that best functions as a Main DPS! See her best weapons and artifacts, kit, and materials of this character in this guide!
| Arlecchino's Character Guides | |||
|---|---|---|---|
| | | | |
| Ignis Purgatorius Chapter | ||
|---|---|---|
| | | |
List of Contents
Arlecchino Rating and Info
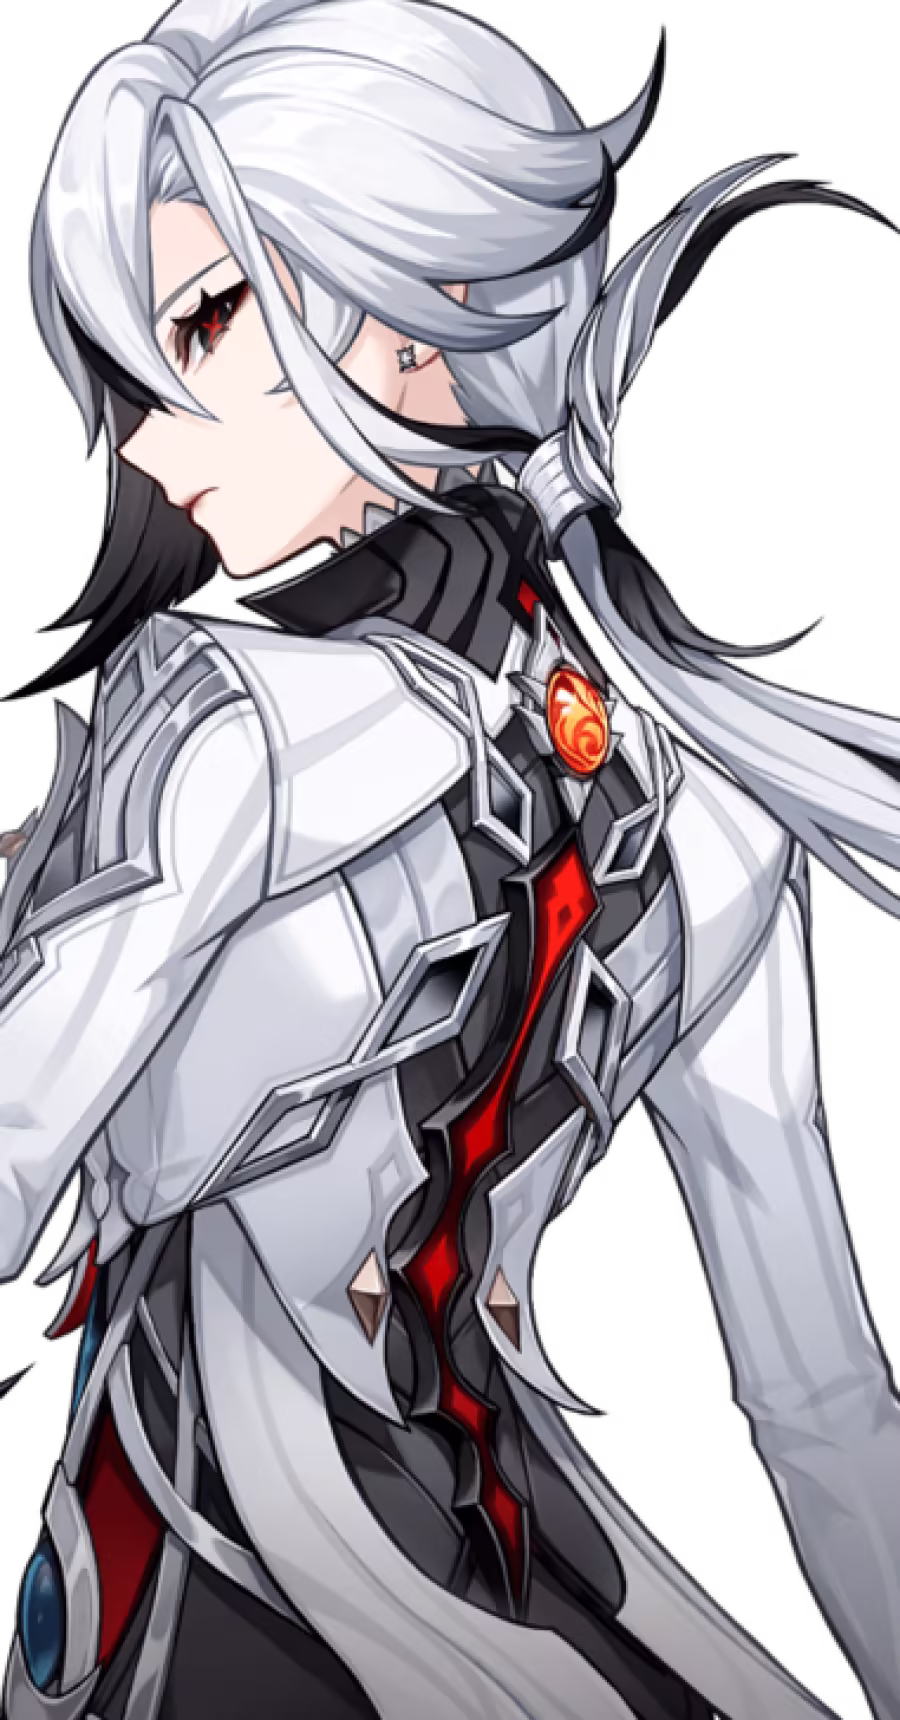
Character Information
| Arlecchino | ||
|---|---|---|
 |
Rating |
|
| Rarity |
★★★★★
|
|
| Element | ||
| Weapon | ||
| Voice Actors |
Erin Yvette (EN)
Mori Nanako (JP) |
|
Tier List Rankings
| Main DPS | Sub-DPS | Support | Exploration |
|---|---|---|---|
|
|
- | - |
|
Arlecchino's Stats
| Stat | Base Value |
|---|---|
| HP | 2646 |
| ATK | 69 |
| DEF | 154 |
| CRIT DMG% | 50% |
| Stat | Max Value |
|---|---|
| HP | 13103 |
| ATK | 342 |
| DEF | 765 |
| CRIT DMG% | 88.40% |
Base Stat Calculations
 | Stats indicated above are obtained from Arlecchino's base values. These numbers also exclude the character's equipped weapon, artifacts, talents, or other passive effects that are not innate to the character. |
|---|---|
 | All characters start with 5% CRIT Rate, 50% CRIT DMG, 100% Energy Recharge, 0 Elemental Mastery, 0% Healing Bonus, and 0% Elemental DMG bonus before any additional stats are applied. The table above includes such values. |
 | The Level 20 stats indicated for this character are calculated before their first ascension. |
Arlecchino's Ascension and Talent Material Summary
| All Ascension Materials Needed |
|---|
|
|
| All Talent Materials Needed |
|
|
Arlecchino Strengths and Weaknesses
| Strengths | |||
|---|---|---|---|
|
• Bond of Life allows an artificial way of tracking her infusion. • Is self-sufficient and thus players can opt to pair her with a team of 3 buffers or with a shielder. • Insanely high raw scalings and abundant buffs built into her kit allow for easy building. • Intuitively simple combos allow for consistent DPS with minimal downtime. • Charged Attack can be used for exploration purposes, although it costs stamina. |
|||
| Weaknesses | |||
|
• Because she can only be healed by herself, her playstyle leans heavily towards being high-risk without a shielder. • Combo-centric playstyle requires her to either have C1 or some form of interruption resistance, or else she suffers a DPS loss. |
Arlecchino Best Builds
Arlecchino DPS Builds
Pyro Main DPS
| Best Weapon | |
|---|---|
| Replacement Weapons |
3.
|
| Best Artifacts | |
| Artifact Main Stats | |
| Artifact Sub Stats | CRIT Rate, CRIT DMG, Energy Recharge, ATK% |
| Sample Teams | Vaporize:
Overloaded:
|
Fragment of Harmonic Whimsy is tailor-made for Arlecchino due to how often she applies and cleanses the Bond of Life effect, ensuring that the artifact set's passive almost has 100% uptime.
As this is a new set, you may use Echoes of An Offerting, Gladiator's Finale, Crimson Witch of Flames, or a mix of both in the meantime while farming her best artifacts.
Arlecchino Talent Priority
| 1st | 2nd | 3rd |
|---|---|---|
| Normal Attack | Elemental Skill | Elemental Burst |
Arlecchino's kit revolves around empowering her Normal Attacks to deal more damage, so it should be prioritized first.
Her Elemental Skill and Elemental Burst can be leveled up together next, with more priority on the Elemental Skill due to its frequent use.
Arlecchino Best Artifacts
Arlecchino Artifact Rankings
Arlecchino's Best-in-Slot Artifact Set is no doubt the Fragment of Harmonic Whimsy, as the passive gives her a near-unconditional 54% DMG increase due to how often her Bond of Life fluctuates, making it her best choice.
Alternatively, players can opt 4-piece sets such as Echoes of An Offering, or Gladiator's Finale, and still make plentiful use of Arlecchino's potential if the right substats are raised.
Best Artifacts Ranked
| Artifact | Artifact Bonuses | |
|---|---|---|
| 1st |
|
2-PC: ATK +18% 4-PC: When the value of a Bond of Life increases or decreases, this character deals 18% increased DMG for 6s. Max 3 stacks. |
| 2nd |
|
2-PC: ATK +18%. 4-PC: When Normal Attacks hit opponents, there is a 36% chance that it will trigger Valley Rite, which will increase Normal Attack DMG by 70% of ATK. This effect will be dispelled 0.05s after a Normal Attack deals DMG. If a Normal Attack fails to trigger Valley Rite, the odds of it triggering the next time will increase by 20%. This trigger can occur once every 0.2s. |
| 3rd |
|
2-PC: ATK +18%. 4-PC: If the wielder of this artifact set uses a Sword, Claymore or Polearm, increases their Normal Attack DMG by 35%. |
Best 4-Star Artifact for Arlecchino
| Artifact | Artifact Bonuses |
|---|---|
 Martial Artist Martial Artist
|
2-PC: Increases Normal Attack and Charged Attack DMG by 15%. 4-PC: After using Elemental Skill, increases Normal Attack and Charged Attack DMG by 25% for 8s. |
List of Artifacts and Set Bonuses
Arlecchino Best Weapons
Arlecchino Weapon Ranking
Crimson Moon's Semblance is Arlecchino's overall best weapon as it sports a hefty Base ATK, provides CRIT Rate, gives her a Bond of Life percentage, and buffs her based on her Bond of Life percentage.
Otherwise, Staff of Homa, Primordial Jade Winged-Spear, Deathmatch, and even the F2P White Tassel all come in as decent choices, serving as general stat-sticks that balance out Arlecchino's stats.
Best Weapons for Main DPS
| Weapon | Weapon Information | |
|---|---|---|
| 1st |
 Crimson Moon's Semblance Crimson Moon's Semblance
|
Base ATK: 674 Bonus Stat: CRIT Rate 22.1% Skill Effect: Grants a Bond of Life equal to 25% of Max HP when a Charged Attack hits an opponent. This effect can be triggered up to once every 14s. In addition, when the equipping character has a Bond of Life, they gain a 12% DMG Bonus; if the value of the Bond of Life is greater than or equal to 30% of Max HP, then gain an additional 24% DMG Bonus. |
| 2nd |
 Staff of Homa Staff of Homa
|
Base ATK: 608 Bonus Stat: CRIT DMG 66.2% Skill Effect: HP increased by 20%. Additionally, provides an ATK Bonus based on 0.8% of the wielder’s Max HP. When the wielder's HP is less than 50%, this ATK Bonus is increased by an additional 1% of Max HP. |
| 3rd |
 Deathmatch Deathmatch
|
Base ATK: 454 Bonus Stat: CRIT Rate 36.8% Skill Effect: If there are at least 2 enemies nearby, ATK and DEF is increased by 16%. If there are less than 2 enemies nearby, ATK is increased by 24%. |
Best Free-to-Play Weapon for Arlecchino
| Weapon | Weapon Information |
|---|---|
 White Tassel White Tassel
|
Base ATK: 401 Bonus Stat: CRIT Rate 23.4% Skill Effect: Increases Normal Attack DMG by 24%. |
All Recommended Weapons for Arlecchino
| Recommended Weapons | How to Get |
|---|---|
| Gacha | |
| Gacha | |
| Gacha | |
| Gacha | |
| Battle Pass | |
| Battle Pass | |
| Starglitter Exchange | |
| Chests | |
| Crafted | |
| Chests | |
Arlecchino Best Team Comps
Arlecchino Teams and Building
Despite her entire kit being anti-heal due to Bond of Life, her talent "The Balemoon Alone May Know" prevents her from receiving any healing from outside sources during combat, allowing her access to buffers like Bennett.
This allows her to disregard sustain and focus on Shielders like Zhongli or with Xingqiu's Rain Swords for her much needed interruption resistance, or even getting C1.
Arlecchino Vape Team
| Main DPS | Sub-DPS | Sub-DPS/ Support |
Support |
|---|---|---|---|
|
|
|
|
|
|
|
|
|
|
|
|
|
|
|
Because of Arlecchino's consistent Pyro application, she excels in double-hydro teams where she is able to consistently Vaporize the opponent.
Having a shielder like Zhongli and a buffer like Bennett ensures that her on-field time is maximized and uninterrupted.
Arlecchino Overloaded Team
| Main DPS | Sub-DPS | Support | Support |
|---|---|---|---|
|
|
|
|
|
|
|
|
|
|
|
|
|
|
|
Pairing her up with Overload's premier support, Chevreuse, can allow Arlecchino to be one of the more formidable characters to utilize Overload.
It is advised to pair her up with a shielder support such as Thoma or C1 Beidou, as they can help with survivability as well as offer extra application and damage.
Arlecchino Mono Pyro Teams
| Main DPS | Sub-DPS | Sub-DPS Support |
Support |
|---|---|---|---|
|
|
|
|
|
|
|
|
|
|
|
|
|
|
|
|
|
|
|
|
Since Arlecchino's damage is already respectable, she can be made to run in Mono Pyro, providing her a Sub-DPS like Xiangling, and buffers like Kazuha and Bennett.
It is worth noting that she can fully take advantage of C6 Bennett's Pyro DMG Bonus, further skyrocketing her own numbers.
Arlecchino Melt Teams
| Main-DPS | Sub-DPS | Sub-DPS/ Support |
Support |
|---|---|---|---|
|
|
|
|
|
|
|
|
|
|
Arlecchino is also a prime candidate to act as the Main DPS of Melt teams with her enhanced Normal Attacks, especially when coupled with a Cryo support like Citlali and strong off-field Cryo applicators.
Arlecchino Burn Teams
| Main-DPS | Sub-DPS | Sub-DPS | Support |
|---|---|---|---|
|
|
|
|
|
|
|
|
|
|
Arlecchino can benefit off of Dendro Sub-DPSes like Emilie and Nahida in a Burn Team, with the main strength of the team having two forms of consistent damage.
The Dendro units are able to piggyback off of Arlecchino's already good raw damage, supporting her with their own damage, and applying Burning to shred opponents faster.
Arlecchino Double Geo
| Main DPS | Sub-DPS | Sub-DPS | Support |
|---|---|---|---|
|
|
|
|
|
|
|
|
|
|
This Arlecchino team takes advantage of the off-field Hydro DMG from a Hydro Sub-DPS, and Geo Resonance and Off-field DMG from Chiori or Albedo paired with Zhongli.
This is more efficient for Arlecchino because of the presence of a strong shielder like Zhongli, allowing her entire kit to shine.
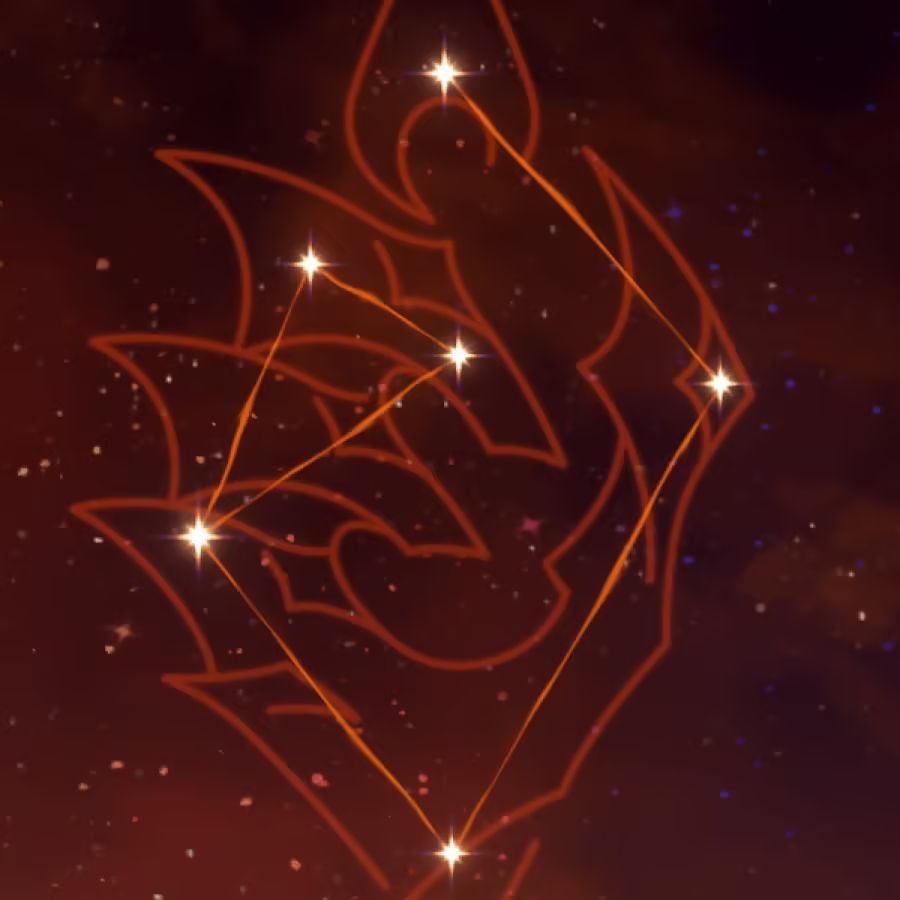
Arlecchino Constellations
| Ignis Purgatorius |
|---|
 |
Constellation and Effects
| Arlecchino's Constellations | |
|---|---|
| C1 |
"All Reprisals and Arrears, Mine to Bear..." Masque of the Red Death is further enhanced, the value of the increase is 120%. Additionally, Arlecchino's interruption resistance is increased when she performs Normal Attacks while affected by the Masque of the Red Death. |
| C2 |
"All Rewards and Retribution, Mine to Bestow..." Blood-Debt Directives are now already Blood-Debt Due when first applied. When Arlecchino absorbs such a Due, she unleashes Balemoon Bloodfire in front of her, dealing 900% of her ATK as AoE Pyro DMG and increasing her All Elemental Res and Physical RES by 20% for 15s. This effect can trigger once every 10s. You must first unlock the Passive Talent ''Agony Alone May Be Repaid.'' |
| C3 |
"You Shall Become a New Member of Our Family..." Increases the Level of Normal Attack: Invitation to a Beheading by 3. Maximum upgrade level is 15. |
| C4 |
"You Shall Love and Protect Each Other Henceforth..." When Arlecchino successfully absorbs a Blood-Debt Directive, Balemoon Rising's CD will decrease by 2s and 15 Energy will be restored to her. This effect can occur once every 10s. |
| C5 |
"For Alone, We Are as Good as Dead..." Increases the Level of Balemoon Rising by 3. Maximum upgrade level is 15. |
| C6 |
"From This Day On, We Shall Delight in New Life Together." The DMG of Balemoon Rising is increased by Arlecchino's ATK multiplied by 700% of Arlecchino's current Bond of Life percentage. For 20s after Arlecchino uses All is Ash, both her Normal Attacks and Elemental Burst gain 10% CRIT Rate and 70% CRIT DMG. This effect can be triggered up to once every 15s. |
Best Constellation Rating and Explanation
| Rating | Constellation Effect / Merits | |
|---|---|---|
| C1 | ★★★ |
• Provides resistance to interruption, allowing you to swap out shielders for more offensive options. • Increases Normal Attack passive's damage, becoming an unconditional buff to her already formidable Normal Attack scalings. |
| C2 | ★★☆ |
• Allows Arlecchino to always max out her Bond of Life percentage when consuming Blood Debts in combat due to them immediately being in the Blood-Debt Due state. • Provides Nuke potential when consuming Blood-Debts. |
| C6 | ★★★ |
• Gives even more damage potential to Arlecchino's Normal Attacks due to the CRIT Rate and CRIT DMG increases. • Turns Arlecchino's Elemental Burst from a regular on-field reset into a capable Nuke. |
Arlecchino Ascension and Talent Materials
Arlecchino Ascension Materials
Below are the ascension materials needed for Arlecchino:
| Lv.20→Lv.40 |
|
|---|---|
| Lv.40→Lv.50 |
|
| Lv.50→Lv.60 |
|
| Lv.60→Lv.70 |
|
| Lv.70→Lv.80 |
|
| Lv.80→Lv.90 |
|
Arlecchino Talent Level-Up Materials
Below are the talent materials needed for Arlecchino:
| Daily Domain Drops | Enemy Drops | Weekly Boss Drops |
|---|---|---|
| Wed/Sat/Sun |
Fatui |
The Knave Boss Challenge Reward |
|
|
|
|
|
|
|
Arlecchino Talents and How to Use
Bond of Life Mechanics
Arlecchino's abilities center around the Bond of Life mechanic. This mechanic is seen on certain weapons and Fatui Operatives, which normally functions to cripple a player's ability to heal themselves until it is cleared.
However, unlike other characters, Arlecchino is actually empowered by Bond of Life and uses this as currency to strengthen her attacks.
Arlecchino's Rotations
Basic All-In Combo
| Sample All-In Rotation |
|---|
| Elemental Skill → Charged Attack → Gain Pyro Infusion → Normal Attack → Elemental Burst → Repeat |
This combo maximizes Arlecchino's All-In potential and paves the way for her to spend as much time on-field as possible.
Using her Elemental Burst early allows her to consume the Blood-Debt immediately and refresh her Elemental Skill.
Blood-Debt Due All-In Combo
| Sample Directive Rotation |
|---|
| Elemental Skill → Switch to Supports and use their abilities → Switch back to Arlecchino → Charged Attack → Gain Pyro Infusion → Normal Attack → Elemental Burst → Repeat |
This combo is similar to her all-in combo but allows her Blood-Debt Directive to turn into Blood-Debt Dues by letting her Elemental Skill simmer on opponents.
This allows Arlecchino to reap the maximum possible Bond of Life amount by the time that she gets on-field.
Short or No Burst Rotation
| Sample Short Rotation |
|---|
| Elemental Skill → Charged Attack → Gain Pyro Infusion → Normal Attack |
This combo is used when Arlecchino does not have her Elemental Burst up. Using her Charged Attack lets her consume the mark to enable the Bond of Life mechanic.
You typically use this combo for quick combat scenarios where you can eliminate the opponent quickly.
Normal Attack
| Normal Attack: Invitation to a Beheading |
|---|
| Performs up to 6 consecutive spear strikes.
Charge Attack Consumes a fixed amount of Stamina, dashing toward a nearby opponent and cleaving once. Hold Attack: Continuously holding this button will cause Arlecchino to consume Stamina and engage in up to 5s of high-speed movement. Masque of the Red Death When Arlecchino has a Bond of Life equal to or greater than 30% of her Max HP, she will enter the Masque of the Red Death" state, where her Normal, Charged, and Plunging Attacks will be converted to deal Pyro DMG. |
| Attribute | Effect (Lvl 1) |
|---|---|
| Masque of the Red Death Increase | 120.4% |
| 1-Hit DMG | 47.5% |
| 2-Hit DMG | 52.1% |
| 3-Hit DMG | 65.4% |
| 4-Hit DMG | 37.1% + 37.1% |
| 5-Hit DMG | 70% |
| 6-Hit DMG | 85.4% |
| Charged Attack DMG | 90.8% |
| Charged Attack Stamina Cost | 25 |
| High-Speed Movement Stamina Cost | 40/s |
| Plunge DMG | 63.9% |
| Low/High Plunge DMG | 127.8%/159.7% |
Bread and Butter
Each of Arlecchino's attacks uses her current Bond of Life amount to buff her strikes, as well as reducing her own Elemental Skill cooldown.
Use this mechanic to overwhelm opponents with deadly Pyro attacks while weaving Skill usage in-between strikes!
Bond of Life Pyro Infusion
While in her empowered state from Bond of Life, all of Arlecchino's Normal Attacks will be converted to Pyro and cannot be overridden by any means.
Mark For Death
Arlecchino's skill marks an opponent that gives her a set amount of Bond of Life when she consumes the mark by either absorbing it or killing the enemy.
Use this to fuel Arlecchino and ensure that your attacks remain buffed and pyro-infused!
Explaining Blood-Debts Directives and Dues
Blood-Debt Directives and Blood-Debt Dues are the marks that appear on opponents after Arlecchino uses her Elemental Skill.
Consuming these Blood-Debts with either Charged Attacks or her Elemental Burst will apply a portion of Bond of Life to Arlecchino. These serve as fuel for her empowered attacks, and is consumed whenever she strikes.
Burst DMG, Bond of Life Clear, and Healing
Arlecchino's Burst allows her to absorb any marks within her Burst radius, dealing large Burst damage, healing herself for a portion of her HP, and resetting her Elemental Skill cooldown.
To make use of this, weave it into her normal combo to keep her topped up and allow you to extend her on-field time!
Passive Talent 1
| Agony Alone May be Repaid |
|---|
| Blood-Debt Directives: ·Arlecchino will be granted a Bond of Life worth 130% of her Max HP when an opponent to which she herself applied a Directive is defeated. ·5s after a Directive is applied, it will be upgraded to a Blood-Debt Due. When absorbed, it will instead grant Arlecchino a Bond of Life worth 130%. A Bond of Life created in the aforementioned ways cannot exceed the original limit on the value of Bonds of Life obtained through All Is Ash. |
Allows her Teammates to Defeat Blood-Debt Enemies
With this, Arlecchino can start every fight with her Elemental Skill before changing to her supports to run their combos.
If the target dies before she comes back on-field, she will claim the Blood-Debt Due, and if she comes back on-field and absorbs the mark, she also gains the Blood-Debt Due charge.
Passive Talent 2
| Strength Alone Can Defend |
|---|
| Alecchino gains 1% All Elemental and Physical RES for every 100 ATK she has in excess of 1,000. The maximum RES increase she can gain this way is 20% |
Allows Arlecchino to Forego a Support
This addition to her Elemental and Physical RES lets Arlecchino be a one-person army if needed, and allows her to uniquely run three buffer supports as she can make use of all of them without much trouble.
Passive Talent 3
| The Balemoon Alone May Know |
|---|
| While in combat, Arlecchino gains a 40% Pyro DMG Bonus and can only be healed through Balemoon Rising |
Feast or Famine
By restricting Arlecchino's healing to only herself, players have to micromanage her Bond of Life stacks to determine when she needs it for healing and when she needs it for damage.
How to Get Arlecchino
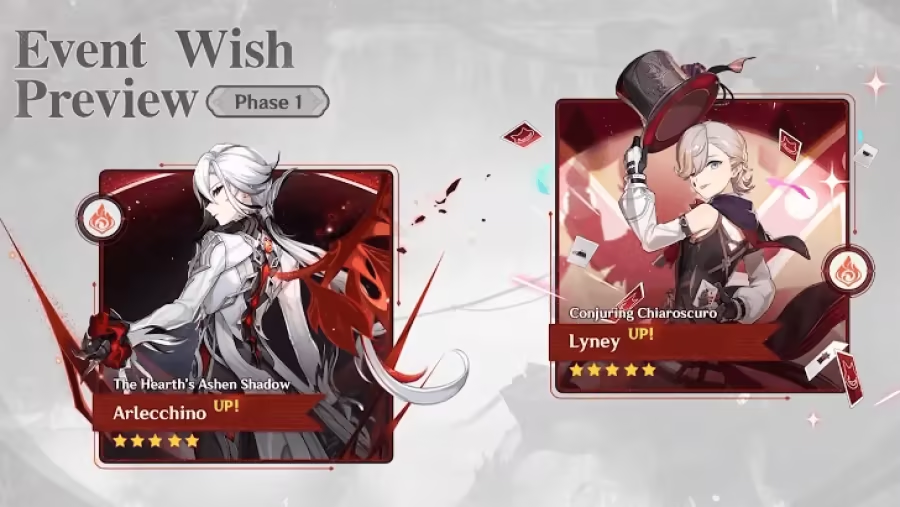
Wish From Her Version 5.3 Phase 2 Banner

|
|
| Banner Status | Inactive |
|---|---|
Arlecchino was previously featured in her own rerun banner during Phase 2 of Version 5.3 from January 21, 2025 until February 11, 2025. Alongside her was Clorinde's rerun banner!
The 4-star character Lan Yan also receives a rate-up during this period.
Related Wish Guides
| Click to view a Banner Guide! | ||
|---|---|---|
 Arlecchino Banner Arlecchino Banner |
 Wish Sim Wish Sim |
 All Wishes All Wishes |
Arlecchino Rerun Dates and Characters
Arlecchino's In-Game Information
Arlecchino Character Profile
| Nation | |
|---|---|
| Title | Dire Balemoon |
| Vision | |
| Gender | Female |
| Race | Human |
| Height | Tall Girl |
| Faction | Fatui |
| Constellation | Ignis Purgatorius |
| Birthday | August 22 |
| Special Dish | Hearthfire's Trail |
Arlecchino Voicelines
Thoughts about Arlecchino
| Character | In-Game Thoughts |
|---|---|
 Freminet Freminet
|
About “Father” Tears: “Father” doesn't like it when children cry. “Father” says tears are the product of emotion and weakness. So when “Father” scolds me, I hold it in until I'm underwater, where no one can hear me cry. At least I have the Romaritime Flowers to keep me company. Teaching: When I was little, I was taught that we should be ready to give our lives for our family. But when "Father" took control, this philosophy changed. "Father" said that every one of us is important, and we have to value our own lives, be our strongest selves, and stand on our own two feet in this world... But actually, all of that's much harder than just following orders. |
 Furina Furina
|
About The Knave The Knave? Wh-Who's that? Oh... Uh, I'd already forgotten about her... Keeping such a terrible figure like her in your mind will only give you nightmares. |
 Lynette Lynette
|
About “Father” Oh, how ''Father'' expresses love... well, not everyone can accept it. But it is only because of "Father" that home... can be called home. |
 Lyney Lyney
|
About “Father” Family: "Father" gave us a family, raised us, and told each of us what we should work towards. In turn, what I can do is very simple... Remain loyal, and protect our home. King: Ours is a kingdom consisting only of children, and “Father” is our king. No king rules forever, of course, and I know that one day I will be chosen as “Father's” successor... But that also terrifies me... Please don't mention this to anyone, especially my sister and Freminet. |
 Navia Navia
|
She is a formidable but caring leader, and definitely comes across like a master of the house. But she's still a Fatui Harbinger, and that means she must have a more ruthless side. So don't worry - while I'll still always appreciate what she did for Poisson, I'm not about to let my guard down around her completely. |
 Tartaglia Tartaglia
|
About The Knave Look, I've got nothing against people who have their own agendas — I myself joined the Fatui to get more experience in combat. But I don't like her at all. If she stood to benefit from betraying others, she'd turn against the Tsaritsa in a heartbeat. There isn't a sane bone in her body. |
 Wanderer Wanderer
|
About The Knave A wolf in sheep's clothing. To exert a higher level of control over people, she puts on a graceful and cordial front. Most of those who have seen her true, crazy self... have gone poof. |
Arlecchino's Thoughts about Others
| Character | In-Game Thoughts |
|---|---|
 Capitano Capitano
|
About The Captain He is very powerful, and that power comes with a high level of responsibility. However, I believe him to be someone worthy of respect independent of the power he holds. |
 Columbina Columbina
|
About Damselette She is a very special Harbinger. Pose her a question, and the answer you receive will be entirely unpredictable, if she sees fit to give a proper answer at all. Regardless, any answer you do receive is sure to be an interesting one. |
 Dottore Dottore
|
About The Doctor When I first took over the House of the Hearth, he proposed a number of plans for us to work together. He wanted me to send any "rejects" to him. He planned to experiment on them and then share the results with me. I heard that he and the previous Knave had quite the professional rapport in that regard. All I can say is that, if he weren't one of my fellow Harbingers, I would have expedited their happy, little reunion long ago. |
|
Freminet
|
About Freminet Freminet has a complex mind and often hides his emotions. He blames himself for things that aren't his doing and allows them to eat away at his conscience. I would imagine the other children might find it difficult to understand his manner of thinking, but you seem to share a similar delicate sensibility — perhaps you two would make good friends. |
|
Furina
|
About Furina I asked Lyney to deliver an assortment of cakes for her theater troupe to enjoy during teatime. The children made the cakes themselves as a gesture to express the support and enthusiasm of her "audience." I do hope she enjoys them. |
 La Signora La Signora
|
About The Fair Lady She and Pierro were the first Harbingers I became acquainted with. Her prideful attitude when she first visited the House of the Hearth failed to earn her many friends among the children. Subsequent visits were accompanied by gifts and the stately claim that "those who dislike me shall receive none." The children quickly learned how to play pretend, and she in turn basked in their attention, superficial though it may have been. I imagine she quite enjoyed being surrounded by children, perhaps due to the persistent loneliness that plagued her... I found her sacrifice to be a great shame. May she be reunited with her lover in death. |
|
Lynette
|
About Lynette Lynette's uniquely calm personality is also her strength, and I believe she is more than clever enough to recognize that. She is an irreplaceable part of that little team of three, and I would imagine that role brings her much joy. As her "Father," my duty is merely to give her the space to put those talents to good use. |
|
Lyney
|
About Lyney Clervie once asked me what a real home looks like, but I had no answer for her. How could any of us know the answer when the House of the Hearth is made up entirely of people who never had a place to call home. By killing Crucabena, I was able to assume the identity of Father and rebuild the House under a new set of rules. Still, I'm well aware that, even with these efforts, the House is far from that ideal. As for what a real home truly looks like, I suppose that question is best put to the side for now... Perhaps one day, Lyney will be able to give me a new answer. |
 Neuvillette Neuvillette
|
About Neuvillette Monsieur Neuvillette intentionally maintains a certain "distance" in professional and private settings. Many say this makes him cold and unfeeling, but I believe the truth is just the opposite. In order for all beings to be treated equally under the law, a certain level of emotional distance is expected. Maintaining that kind of indifference is, in itself, a demonstration of kindness. |
 Pantalone Pantalone
|
About Regrator I won't deny that he is a capable and imaginative individual, but he lacks "clarity." He can formulate grand plans and manipulate the economy with ease, yet at the same time, he allows his actions to be governed by the vengeance and hatred locked in the depths of his heart. Rational people often believe themselves capable of controlling their emotions, but I believe that confidence is their greatest weakness. |
 Pierro Pierro
|
About The Jester As the original Harbinger, much about him remains a mystery. Upon our first meeting, he recognized my background with ease, yet to this day, I know little about him. |
 Pulcinella Pulcinella
|
About The Rooster The Rooster holds little love for me, and the feeling is mutual. He is an acceptable mayor, I suppose... perhaps even an exceptional one. He has an uncanny ability to make great gains at a small price, which has earned him substantial acclaim throughout his political circles. However "small" the price may be, if it continues to come at the expense of my organization, sooner or later... Hmph. |
 Sandrone Sandrone
|
About Marionette I have little interest in her. She is extremely... passionate about her research and does not appear in public often. In fact, many of our officers have yet to see her at all. Compared to, let's say, someone who would go so far as to create segments of themselves to better wander across the land, I suppose you could say she is at the other end of the extreme. |
|
Tartaglia
|
About Childe Objectively speaking, his personality is ill-suited to that of a Harbinger. He often tries to think the best of others... and finds himself used by them as a result. Of course, he is very talented. With time, I'm sure he'll come into his own. I see no need to judge him too early. |
 Tsaritsa Tsaritsa
|
About Tsaritsa When I was imprisoned, it was the Tsaritsa who pardoned me and gave me the title of Harbinger. I could sense she was a person of true sincerity and compassion, unlike all those pompous hypocrites with their posturing and rhetoric. Yet... It's difficult to say whether her compassion alone is enough to melt the ice and snow that permeates her land. All I can say is this... If we are forced to be at odds one day, I will raise my weapon against her without hesitation, because that is the greatest level of respect I am able to bestow. |
Arlecchino Release Date
| Genshin Impact Version 4.6 - Phase 1 Banners | |
|---|---|
 |
|
| Release Date | April 24, 2024 |
Arlecchino made her official debut as a playable character along with Lyney's rerun on Phase 1 of Version 4.6, which started on April 24, 2024.
Genshin Impact Related Guides

All Characters and Voice Actors
List of All Characters
| Characters by Element | |||
|---|---|---|---|
Playable Characters
 Chasca
 Faruzan
 Heizou
 Kazuha
 Lan Yan
 Sucrose
 Traveler (Anemo)
 Venti
Venti Xianyun
 Ayaka
Ayaka Charlotte
 Chongyun
 Citlali
 Diona
Diona Ganyu
Ganyu Kaeya
Kaeya Layla
Layla Rosaria
 Shenhe
 Wriothesley
 Alhaitham
 Baizhu
 Collei
 Emilie
 Kaveh
Kaveh Kinich
 Kirara
 Nahida
 Tighnari
 Traveler (Dendro)
 Yaoyao
 Beidou
 Clorinde
 Fischl
 Keqing
 Ororon
 Raiden
 Razor
Razor Sethos
 Shinobu
 Traveler (Electro)
 Yae Miko
 Albedo
 Chiori
 Gorou
Gorou Kachina
 Ningguang
 Noelle
 Traveler (Geo)
 Xilonen
 Yun Jin
 Zhongli
 Ayato
Ayato Barbara
 Candace
 Kokomi
 Mualani
 Nilou
Nilou Sigewinne
 Traveler (Hydro)
 Xingqiu
 Yelan
Yelan Amber
Amber Bennett
 Chevreuse
 Dehya
Dehya Diluc
Diluc Gaming
 Hu Tao
 Mavuika
 Thoma
Thoma Traveler (Pyro)
 Xiangling
 Xinyan
 Yanfei
 Yoimiya
Upcoming Characters
| All Upcoming Characters | |||
|---|---|---|---|
|
Alice
|
Capitano
|
Columbina
|
 Dainsleif Dainsleif
|
|
Dottore
|
 Iansan Iansan
|
|
 Mizuki Mizuki
|
|
Pantalone
|
Pierro
|
Pulcinella
|
Sandrone
|
 Skirk Skirk
|
Tsaritsa
|
Varka
|
|
Character Lists
| Characters by Rarity | |
|---|---|
| 5-Star Characters | 4-Star Characters |
| Free Characters | |
| Characters by Weapon Used | |
| Sword Users | Claymore Users |
| Polearm Users | Bow Users |
| Catalyst Users | |
| Characters by Role | |
| Main DPS Characters | Sub DPS Characters |
| Support Characters | Healers |
| Shield Characters | Buff Providers |
| Best for Exploration | Local Specialty Passives |
| Double Reward Passives | |
| Characters by Gender | |
| Male Characters | Female Characters |
| Short Male Characters | Short Female Characters |
| Medium Male Characters | Medium Female Characters |
| Tall Male Characters | Tall Female Characters |
| Characters by Height | |
| Short Characters | Medium Characters |
| Tall Characters | |