
How to Beat Ketheric Thorm
Ketheric Thorm is the main and final boss of Act 2 in Baldur's Gate 3 (BG3). Read on to learn how to beat him in the game!
List of Contents
Complete the Find the Nightsong Quest
The Nightsong Holds the Key to Ketheric's Power
Nightsong is, apparently, a person being used as a relic to make Ketheric immune to anything. It would be impossible to beat him without completing this quest, even if you assault Moonrise Towers right after seeing him.
You can either kill the Nightsong and follow Shar's instruction to gain her favor or save her and have her help with the fight against Ketheric.
How to Beat Ketheric Thorm
| How to Beat Ketheric Thorm | |
|---|---|
| 1 | |
| 2 | |
| 3 |
First Phase - Moonrise Towers Rooftop
Your first fight against Ketheric Thorm will be on top of Moonrise Towers. Focus your attacks on him and deplete his HP to 30% to 40% before dealing with other enemies. It will force him to retreat to Mind Flayer Colony and drag Aylin, the Nightsong, if you save her from Shadowfell.
You can try to convince him to surrender before the fight with Intimidation (DC21) and Persuasion (DC30), Deception (D30), or another Intimidation (DC30), but it would still end up in a fight against him no matter what you choose.
Make sure to do a long rest after defeating everyone on the rooftop to ensure your spells and HP are fully restored in the next fight.
Second Phase - Ketheric Full Fight
| How to Beat Ketheric Thorm - Second Phase | |
|---|---|
| 1 | |
| 2 | |
| 3 | |
| 4 | |
| 5 | |
| 6 | |
| 7 |
Follow these steps in order to get the best outcome during the fight.
The second phase and official boss fight starts in the Mind Flayer Colony. It will require you to get the terrain advantage, especially on higher difficulties, to defeat Ketheric Thorm efficiently. He won't join the fight directly in this phase, but he will still use spells to keep you in check.
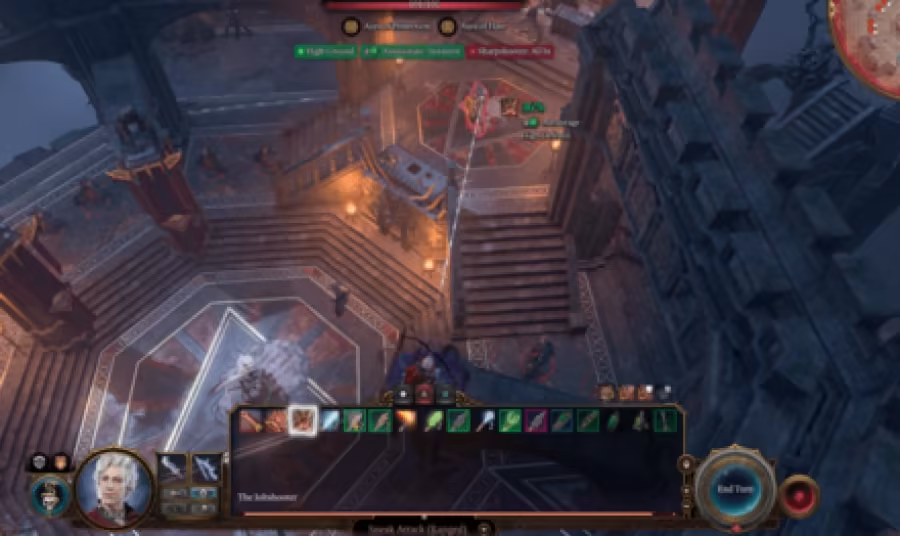
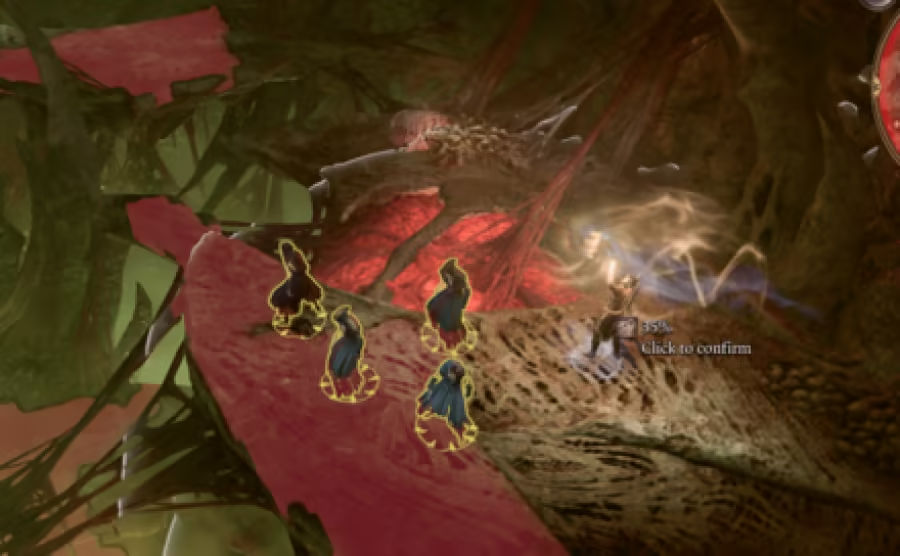
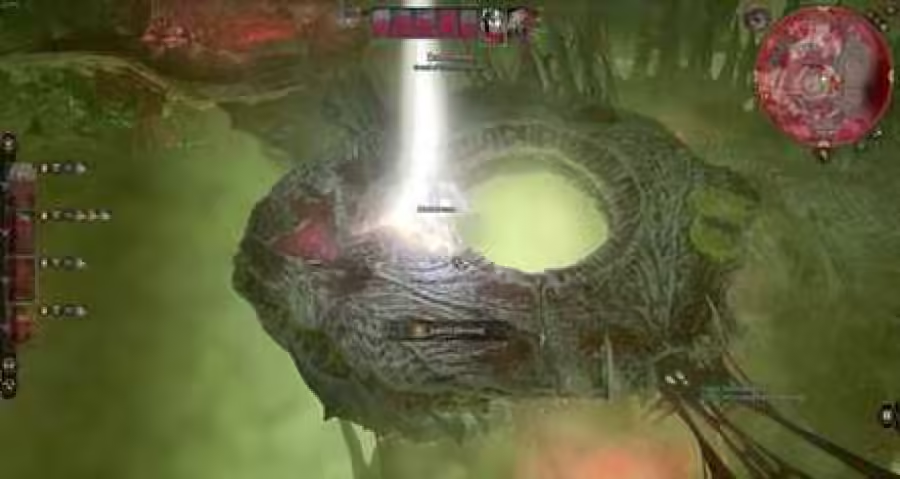
Sneak to the Left to Gain a High-Ground Advantage
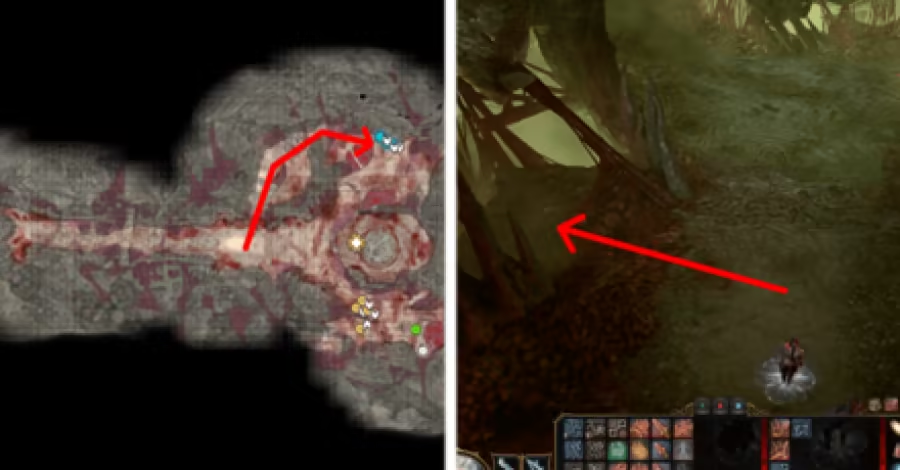
Hide and sneak on the left side, under the group of Necromites. Use the veins to climb up and get a High-Ground advantage on all the enemies below, including Ketheric. Do this carefully and watch if they can see you before you move (red highlight), so you won't get spotted before you reach the platform!
Defeat the Necromites
Start the fight by attacking the Necromites first. A Cleric (like Shadowheart) or a Paladin would be good to have here so you can defeat them in one go using Turn Undead. If someone survives, you can attack and shove them to beat them quickly.
Focus on the Mind Flayer
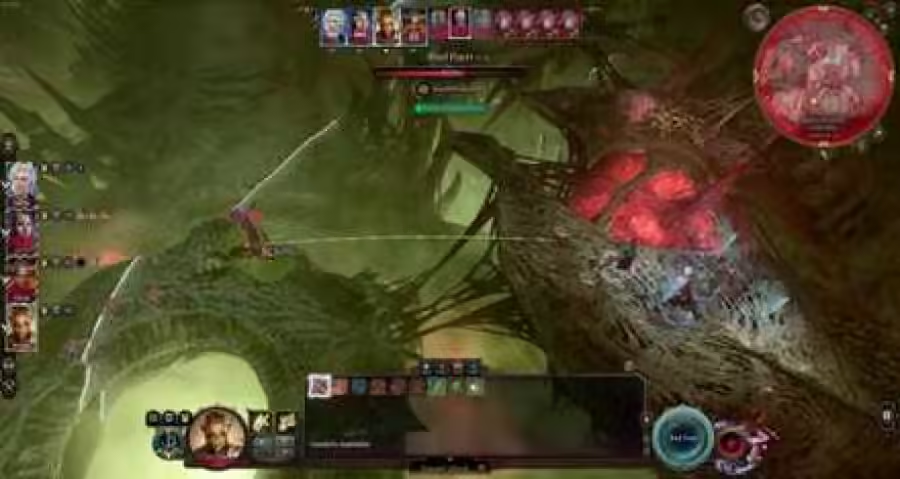
The Mind Flayer will start levitating from the other side and attack your party. It shouldn't reach you in its first turn but can still perform a long-range attack. Focus your attack on it next and slay it in one turn to remove the enemy with the highest threat in this phase.
If you fail to defeat it in one turn, prepare to get hit by its AoE Mind Blast. Your team might get stunned and skip a turn because of that.
Kill the Intellect Devourers
Kill the Intellect Devourers next after dealing with the Mind Flayer. They aren't as tough as the Mind Flayer but can still inflict a little damage on your team. You can easily defeat them if you lure them on the platform and shove them onto the ground or chasm.
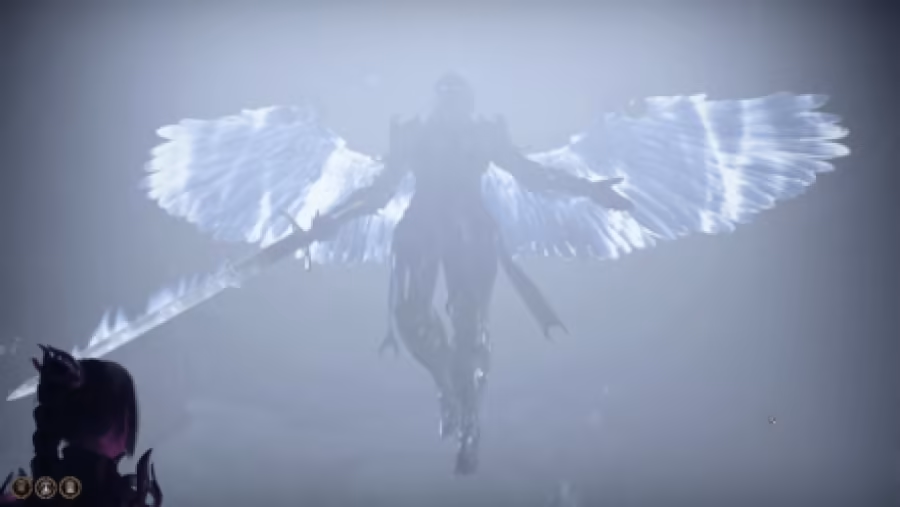
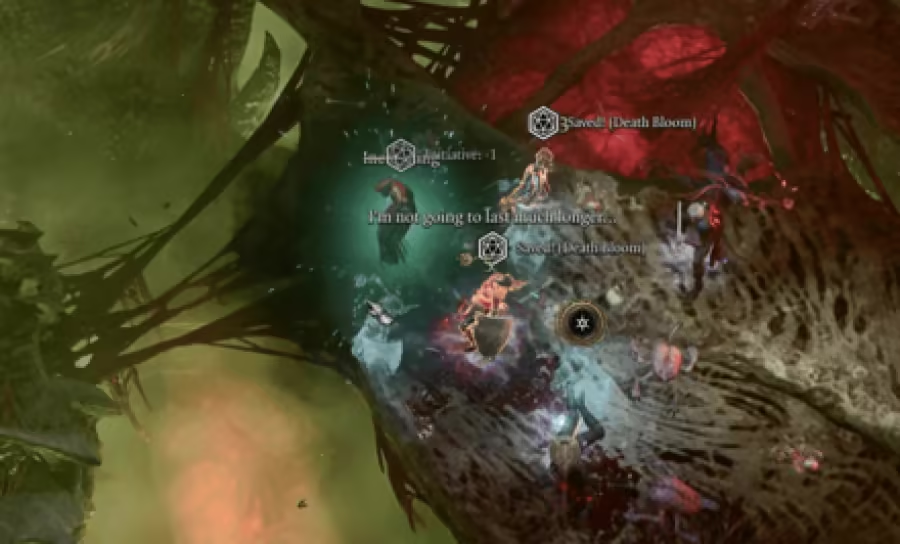
(Conditional) Help and Free Aylin
You can only do this part if you save Nightsong (Aylin) in Shadowfell.
Prepare a Misty Step Scroll or Spell to save Aylin. Use it to teleport near Aylin once all enemies other than Ketheric are dead. Freeing Aylin will remove Ketheric's invulnerable state, allowing your team to damage him.
How to Get a Scroll of Misty Step
Clear All Necromites that Spawn
Ketheric will summon a Necromite from time to time to attack your team. Assign one of your characters to deal with it every time one spawns in the area.
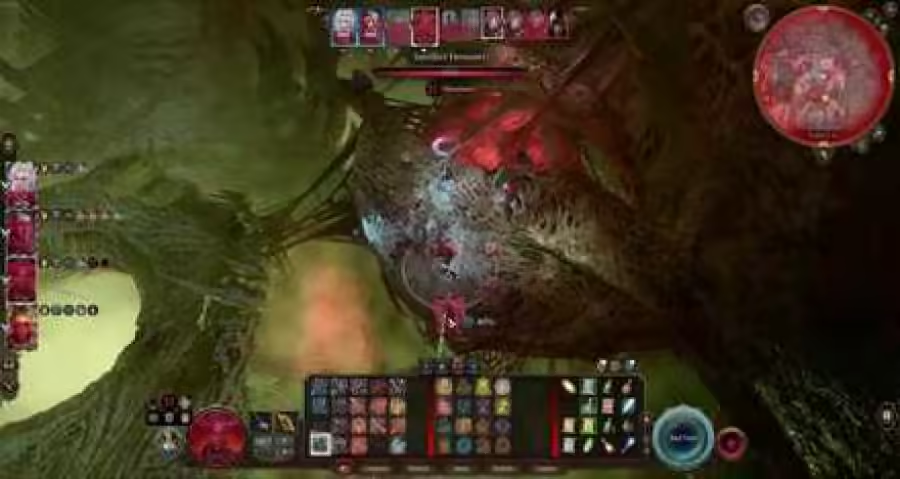
Defeat Ketheric Thorm
It's now time to defeat Ketheric. If you have Aylin, try to support her with your spells, as she will take the front and fight Ketheric in close combat. Heal Aylin as much as you can before defeating Ketheric, so she can keep going in the final phase.
You won't be able to heal her in the final phase because of the Bone-Chilling debuff, so this is the best time to heal her!
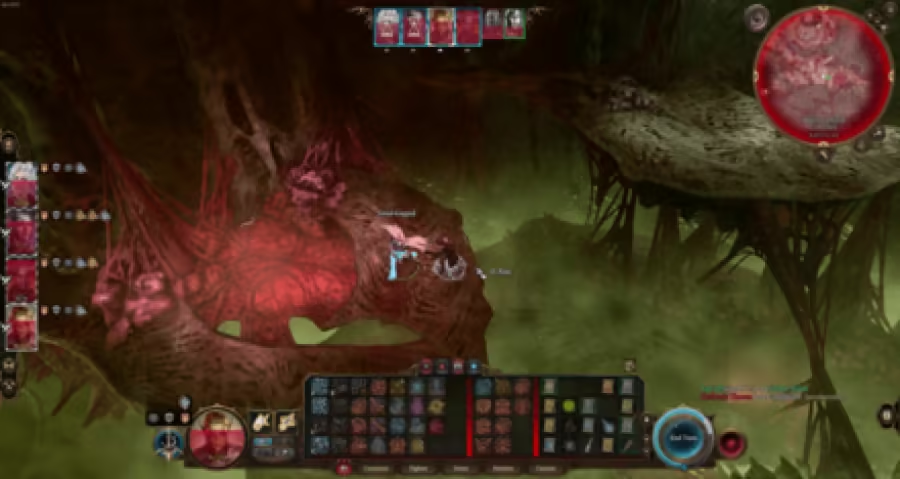
Third Phase - Myrkul Skeletal Form
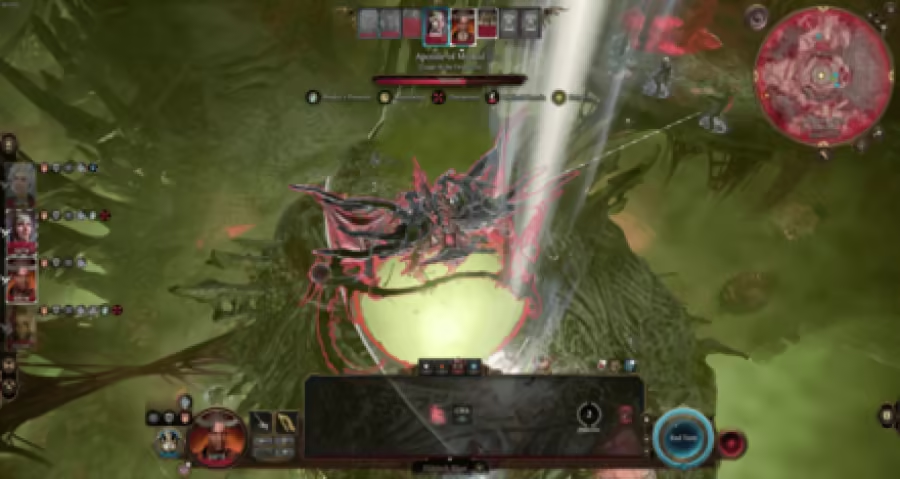
The third phase starts after defeating Ketheric in the second phase, forcing him to summon Myrkul, the lord of the bones. Use all of your powerful spells, preferably spells that inflict Radiant damage, and items to beat him quickly.
You can still stay on the platform you're in, but make sure to assist Aylin (if she's there and alive) and let your melee combatants join the close-quarter battle. However, don't position them near the chasm, as they may get knocked out and cause them to die instantly.
Baldur's Gate 3 Related Guides

Act 1 Bosses
| All Act 1 Bosses | ||
|---|---|---|
| Auntie Ethel | Bulette | Ch'r'ai W'Wargaz |
| Commander Zhalk | Dror Ragzlin | Flind |
| Grym | Kagha | Lump the Enlightened |
| Minthara | Nere | Owlbear |
| Phase Spider Matriarch | Priestess Gut | Spectator |
Act 2 Bosses
| All Act 2 Bosses | ||
|---|---|---|
| Ch'r'ai Tska'an | Balthazar | Fist Marcus |
| Gerringothe Thorm | Kar'niss | Ketheric Thorm |
| Malus Thorm | Thisobald Thorm | Yurgir |
Act 3 Bosses
| All Act 3 Bosses | ||
|---|---|---|
| Ansur | Auntie Ethel | Cazador Szarr |
| Dominated Red Dragon | Lord Enver Gortash | Lorroakan |
| Mystic Carrion | Orin the Red | Raphael |
| Sarevok | Steel Watcher Titan | Viconia DeVir |
| The Unbreakable Will of the Netherbrain | ||